Pear Jam Delight

Arvind Singh
| 10-07-2026
 · Food Team
Hello, Lykkers! Have you ever tasted a spoonful of homemade pear jam on warm toast in the morning? The soft fruit flavor and gentle sweetness can make an ordinary breakfast feel special.
Today, we are going to make a simple pear jam with only a few ingredients. This recipe is friendly for beginners because pears naturally contain pectin, which helps the jam thicken without adding extra ingredients.
What Makes Pear Jam Special
Pear jam has a smooth texture and a delicate fruit aroma. Unlike many berry spreads that have a strong taste, pear jam is light and comforting. We can spread it on bread, mix it into oatmeal, add it to plain yogurt, or spoon it over pancakes. A jar of homemade pear jam also makes a lovely gift for family and friends.
Ingredients We Need
For about four to five small jars of jam, prepare these ingredients:
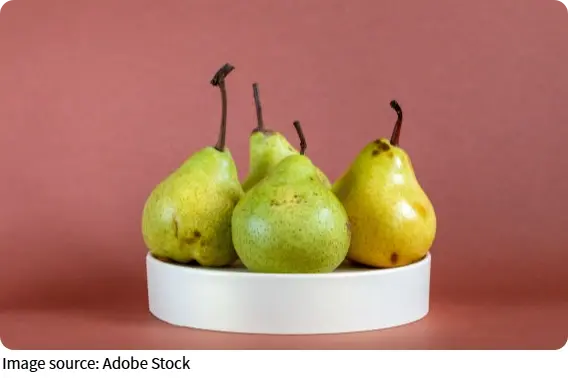
- 4 pounds (1.8 kg) pears, peeled and cut into 1/2-inch pieces
- 3 cups (600 g) sugar
- 1/4 cup (60 ml) fresh lemon juice
If we prefer a lighter sweetness, we can reduce the sugar to 2 cups. For a sweeter flavor, increase it to 4 cups.
Equipment for Easy Jam Making
Before we begin, gather these kitchen tools:
- A large heavy-bottom cooking pan
- A wooden spoon or silicone spatula
- A potato masher
- A thermometer for checking temperature
- Clean glass jars with lids
- A large water-bath canner if we plan to store the jam for a long time
Preparing everything in advance makes the cooking process much easier.
Step 1: Prepare the Pears
- Wash the pears carefully. Peel them, remove the cores, and cut the fruit into even 1/2-inch cubes.
- Keeping the pieces a similar size helps them cook evenly. The pear pieces will stay fairly intact during cooking, giving the finished jam a pleasant texture.
Step 2: Soak the Fruit Overnight
- Place the pear pieces in a large bowl. Add the sugar and lemon juice, then stir well.
- Cover the bowl and place it in the refrigerator for at least 4 hours. For the best result, leave it for 12 to 24 hours.
- During this time, the sugar pulls juice from the pears and gently firms the fruit. This simple step helps create a richer flavor and a better texture.
Step 3: Prepare the Jars
- If we want to keep the jam in the pantry, prepare the jars and water-bath canner while the pears are soaking.
- Wash the jars with hot water and keep them warm until needed. If the jam will be stored only in the refrigerator or freezer, we can skip the canning equipment.
Step 4: Cook the Jam
- Pour the pear mixture and all its juices into a heavy-bottom cooking pan.
- Bring the mixture to a boil over high heat. The jam will bubble quickly, so use a large pan to prevent spills.
- After boiling begins, reduce the heat to medium-high and continue cooking.
- Stir often to prevent sticking, especially as the mixture becomes thicker.
Step 5: Mash and Stir
- Cook the jam for about 10 to 15 minutes.
- If the pear pieces still seem too large, gently mash some of them with a potato masher. This creates a spreadable texture while leaving a few fruit pieces for extra character.
- As the jam thickens, stir more frequently.
Step 6: Check the Gel Stage
- The jam is ready when it reaches 220°F (104°C) at sea level.
- If we do not have a thermometer, try this simple test:
- Place a small spoonful of jam on a chilled plate. Wait for one minute and gently push it with your finger. If the surface wrinkles slightly, the jam has reached the correct consistency.
Step 7: Fill the Jars
- Remove the jam from the heat immediately.
- Carefully spoon the hot jam into clean jars, leaving about 1/4 inch of space at the top.
- Run a plastic spatula along the inside edge to remove trapped air bubbles. Wipe the jar rims and close the lids tightly.
Step 8: Process and Store
- Place the jars into a boiling water bath for 10 minutes.
- If you live at an elevation above 6,000 feet, increase the processing time to 15 minutes.
- After processing, turn off the heat and allow the jars to sit for another 5 minutes. Then place them on a towel and let them cool completely for 24 hours.
- Properly sealed jars can be stored in a cool, dark place for 12 to 18 months.
- Unsealed jars should be refrigerated and enjoyed within 2 to 3 weeks. Frozen jam can keep for up to 6 months.
Helpful Tips for Perfect Pear Jam
- Use ripe but firm pears for the best flavor.
- Choose a heavy-bottom pan to reduce the chance of burning.
- Stir more frequently during the final minutes of cooking.
- Label the jars with the date so we know when they were made.
Lykkers, making pear jam at home is surprisingly simple and incredibly rewarding. With just pears, sugar, and lemon juice, we can create jars filled with the sweet taste of fresh fruit. The next time you have extra pears in your kitchen, why not turn them into this delightful spread?
How to Make Pear Jam at Home So Easy!
Video by Cooking With Mahtab